Adventures in pickling

One of our summer pastimes is to go to Krugers Berry Farm on nearby Sauvie Island. We eat most of the berries, but take some and make excellent jalapeño blackberry jam which is great for sandwiches. While there, we also pick up some pickling cucumbers.

Pickle Time

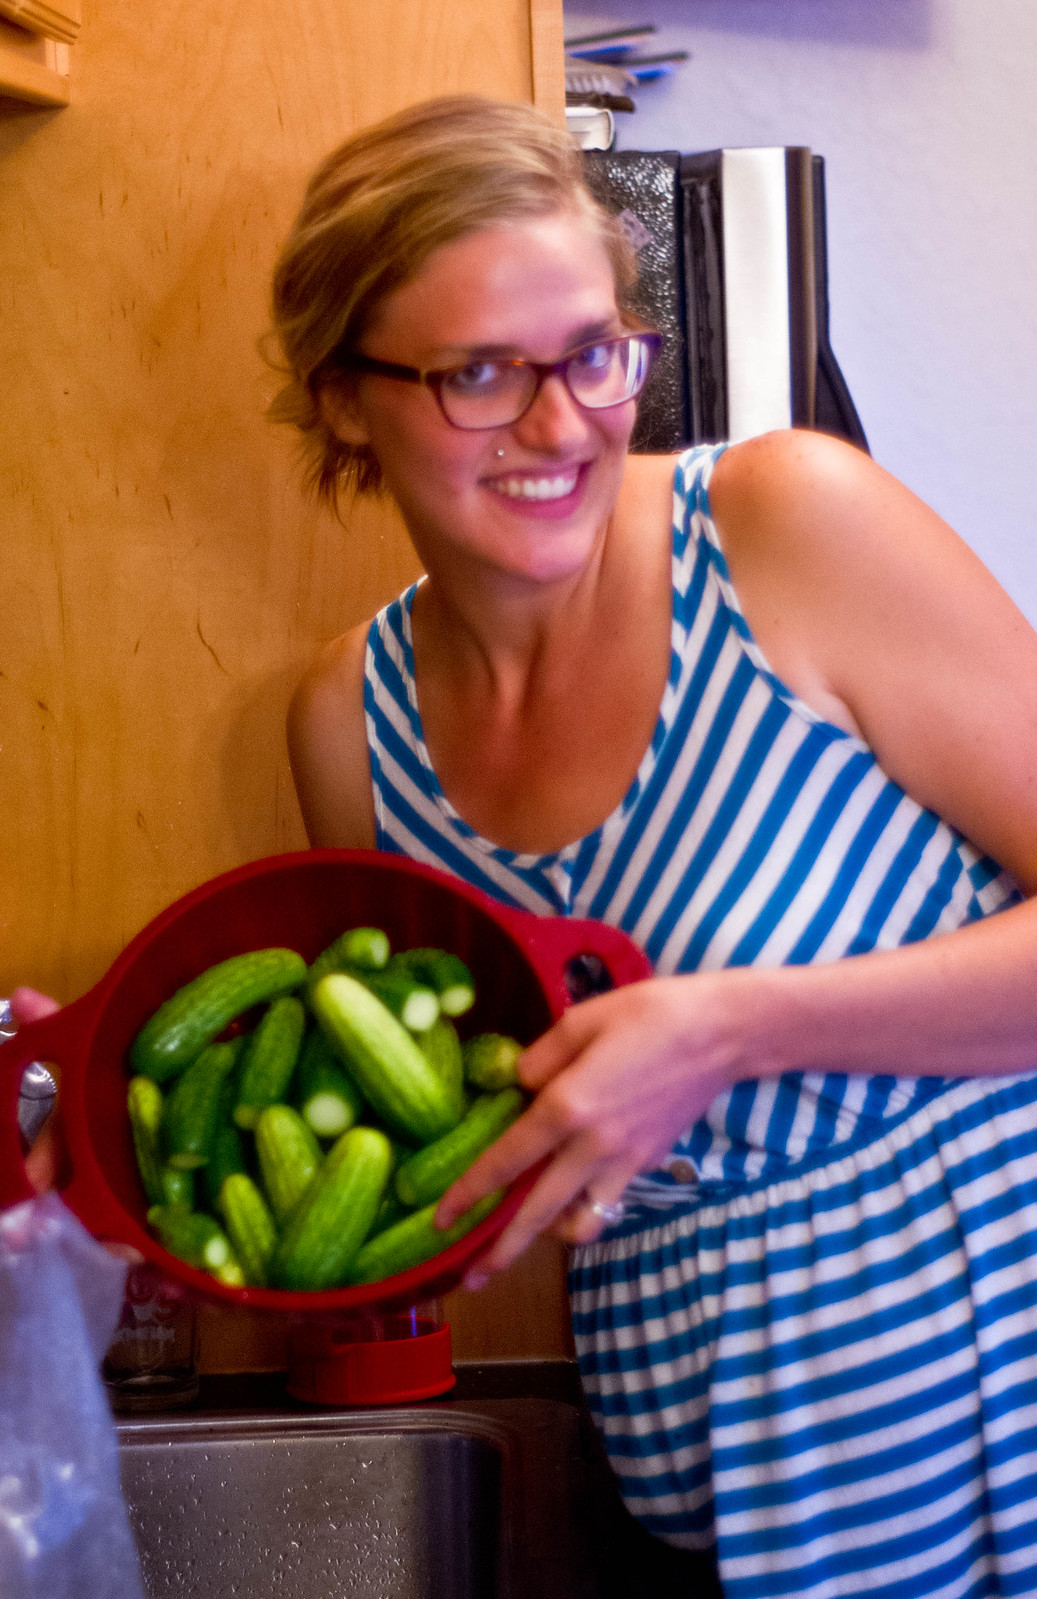
Making pickles is one of my favorite activities in the late summer, second only to eating pickles. We can easily eat a half-gallon jar a week.

PicklingNot only are the cucumbers delicious, but most anything else you add to the pickles also becomes super tasty. I’ve made pickles, both by canning them in a boiling water bath, and open fermenting. Open fermenting is a great way to get started if you’re not doing a large batch, and don’t plan on storing them long term. If you’re wanting to make a bunch for long term storage you’ll want to make sure you follow steps to make sure your cans are sealed properly. I’ll only cover the open/wild fermentation pickles(also sometimes called refrigerator pickles) here.

Brine Recipe

  • 4 parts boiling water
  • 1 part white vinegar
  • 2 tablespoons of pickling salt per 5 cups of liquid

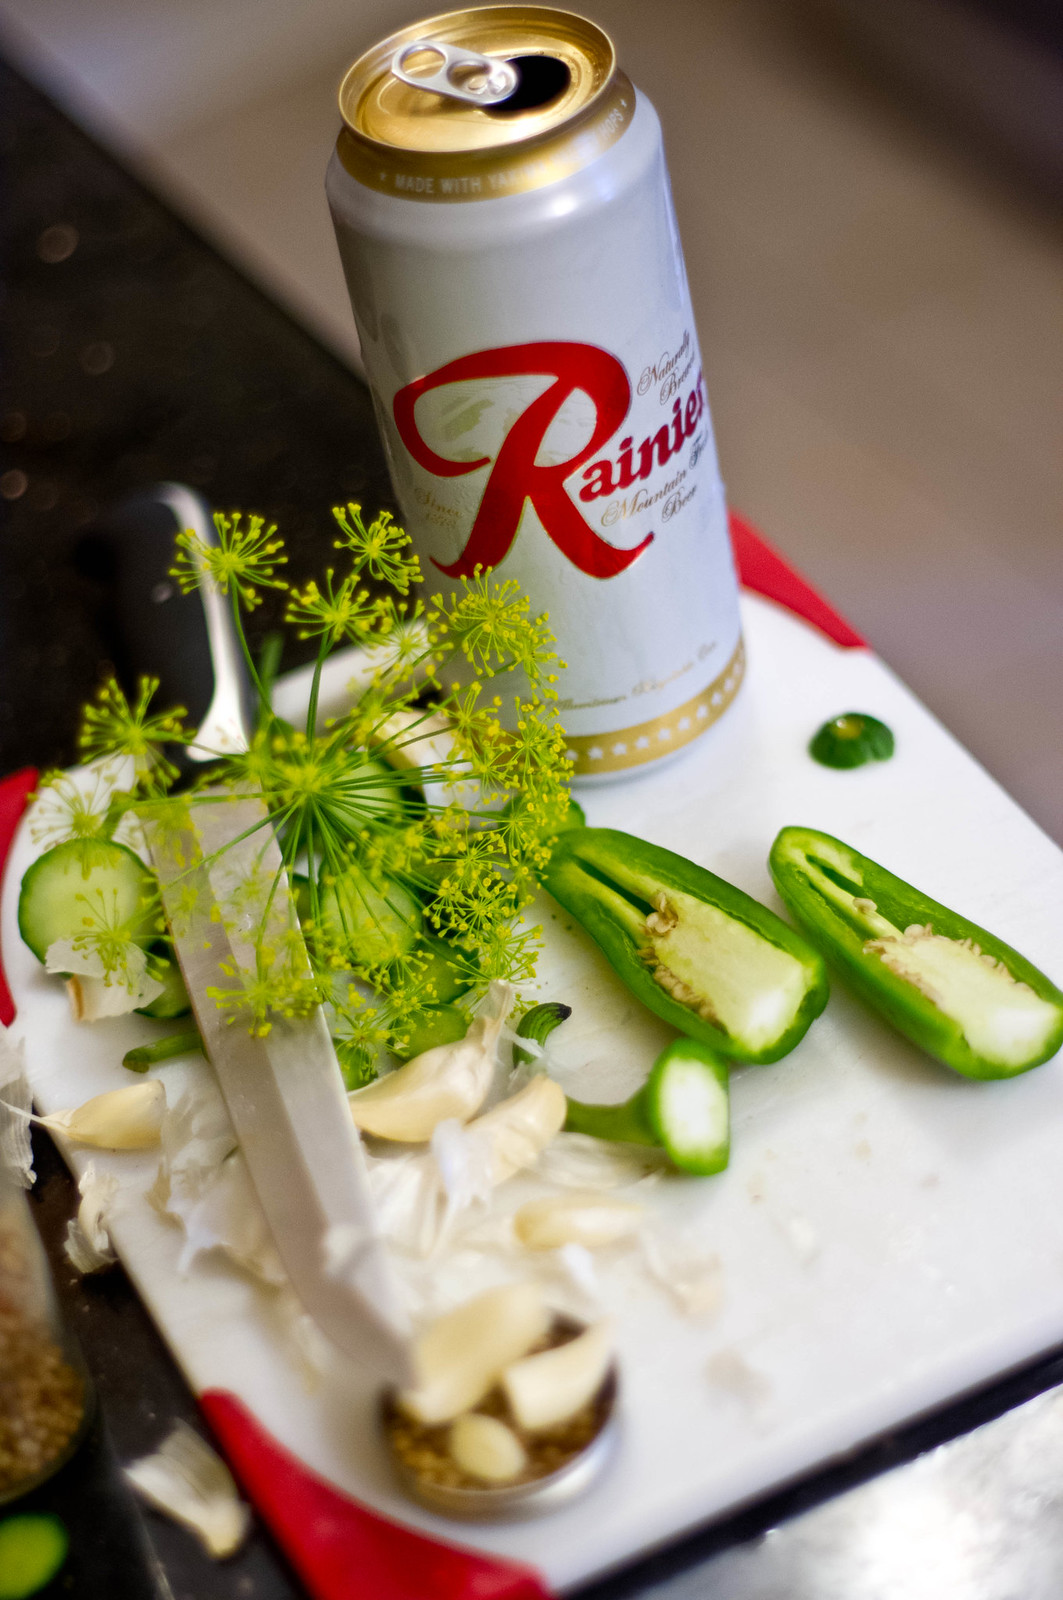
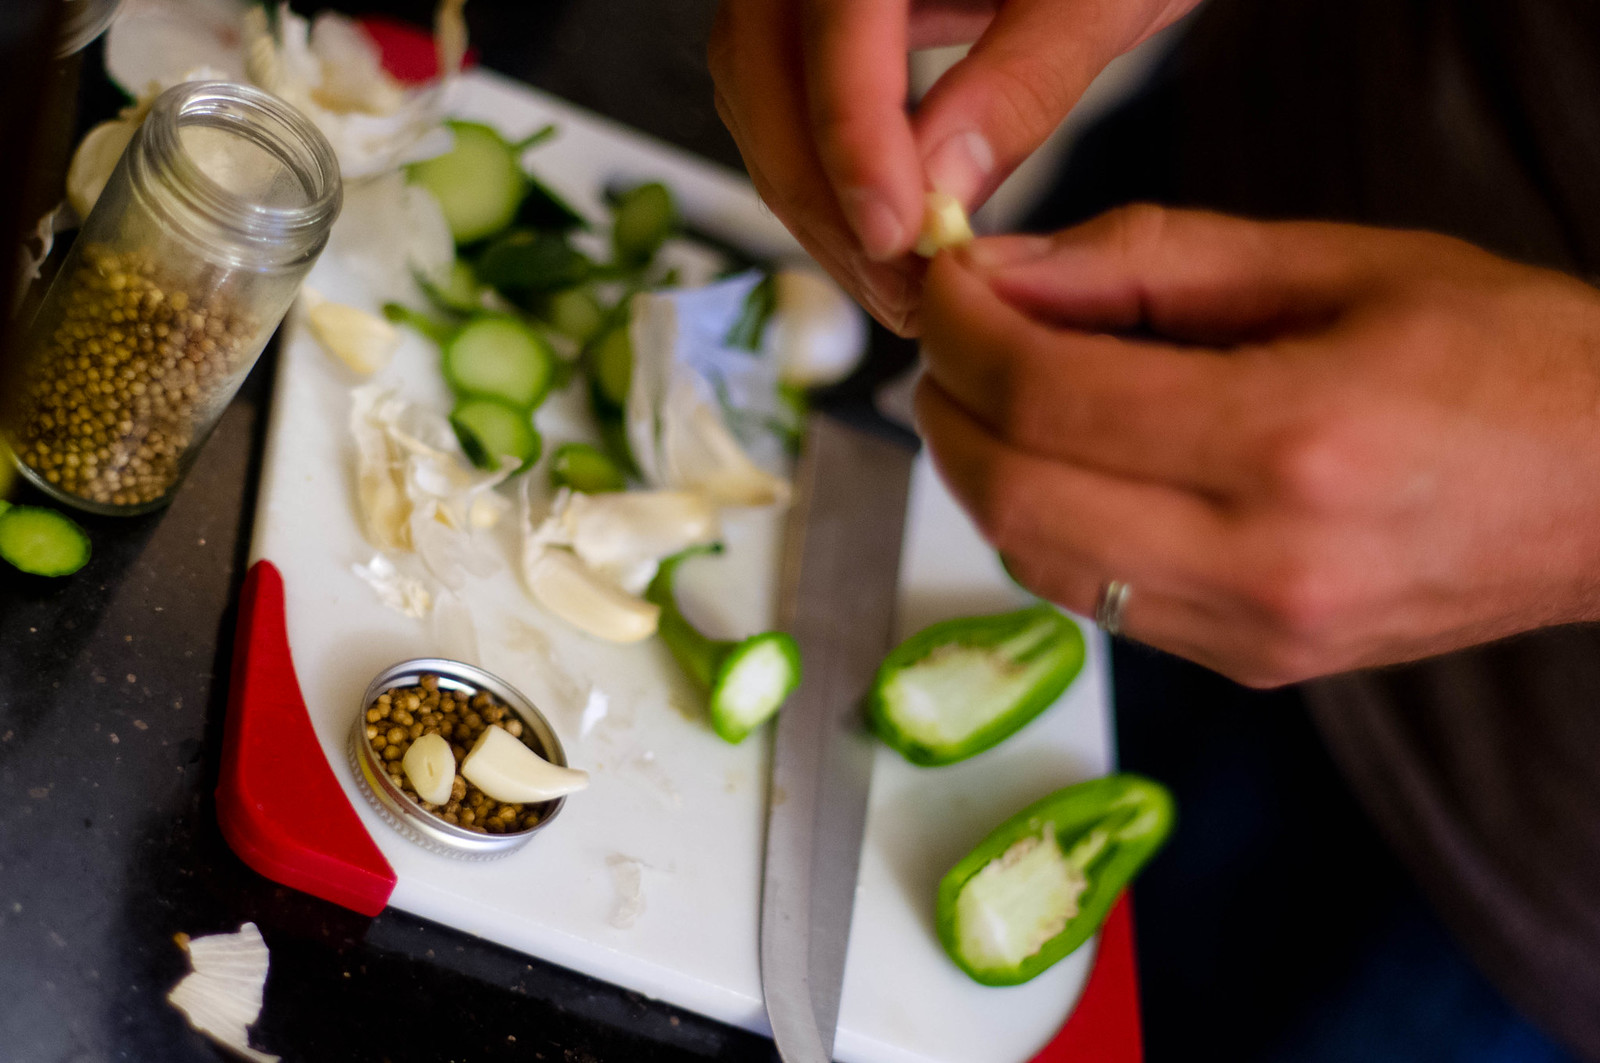
Additions – Add to taste

  • Garlic
  • Heads of dill
  • Coriander
  • Peppercorns
  • Jalapenos or other peppers
  • Experiment with other spice mixtures

To prepare your cucumbers, you will want to wash them throughly, and cut off the flowering end. A good hint from the Grow Organic blog is “Find the blossom end by looking for the rough dot (instead of the smooth, indented dot) at the end of the cuke.” The flowing end contains an enzyme that will release over time making your pickles soft. By cutting this off you’re keeping your pickles crunchy longer. Another tip I’ve done to get crunchy pickles is to add grape leaves to the process.

Once you have prepared your cucumbers, place them in a container. For our situation I used beer fermenters I had. If you do use plastic buckets make sure they are food grade plastic. Buckets are easy because you can set them on the floor out of the way.  I’ve also used are large pyrex bowels to good success. Once you’ve added the cucumbers you’ll add in what ever additions you’re looking for. My favorite thing about making home made pickles is the cool chance to experiment. Once you get the hang of regular cucumbers, you are open to a world of other things to pickle – onions, corn, asparagus(another favorite of mine), green beans etc. After you’ve added everything, you will need to add enough brine to completely cover the everything in your container. You will notice that most of your goods start to float when added to liquid. Since anything that is exposed to air will mold, you want to keep everything submerged under the brine. The way I accomplish this is by placing a plate or bowl in the vessel to push down the elements. This will depend on your fermentation vessel of course.

Then you just need to let sit 1-2 weeks, or until they’re as pickled as you like. Then you will want to add them to a jar or other storage vessel and store them in the fridge.

If you find yourself catching the fermentation bug, there are a load of other things you can make. I’ll try and post an entry soon on making Kombucha, another good fermentable.

 
Pickling (9 of 25)

I climbed some mountains – part 2 “The Journey”

Recently my wife and I returned from our epic gla-canada adventure. This involved our first time backpacking through Glacier National Park, driving through the Canadian Rockies, exploring Vancouver, BC, and going to the Portland Timbers game. I saw more beautiful things then I could ever describe to you.

It begins
IMG_20140822_082612.jpg

Portland to Glacier was about a 12 hour drive. Because the ranger station closed at 4pm, we decided to drive the night before. We filled our phones with podcasts, packed food for the road, threw our bags in the back and headed out. Before we left, Emily recommended I take another jacket, which, as you’ll see later, is advice I’m glad I followed. My goal was to get the hiking passes on Friday, so that on Saturday we could hit the trail early without needing to stop and wait for the ranger station to open. We had booked a spot at a hostel inside the park Friday night, so after getting the permit and few remaining supplies we drove up to Polebridge where the hostel was.

IMG_20140822_174338.jpgPolebridge was a super neat town, and I recommend stopping by there if you’re ever in the area. Its a small town with just a handful of buildings including the “Merc'” which is the town store/bakery. The only way anybody got any electricity in town was solar panels, so that was regulated to 1 “power hour” at the hostel in which people could charge their cell phones or use wi-fi. We stayed in the little trailer out behind the main building, and I had probably the most fitful sleep of my life.

The Hike

We left before anything in Polebridge was open the next morning. We had an hour drive south back into the park to drop our car off at the place we’d be coming out 3 days later. I was apprehensive; nervously I checked, and rechecked my bags thinking over what I would want. The weather had taken a turn for the cold, so I thanked Emily for reminding me to bring an extra jacket. Gunsight Lake

The actual park was filled with beauty and wonders; more then I could ever explain in words. Our 3 day trek had us going up and down constantly, so I was very glad to have my hiking poles. The first two days had us following several lakes, rivers, and waterfalls which made for an amazing experience when we stopped to filter water into our water bottles. We got to see huge rocks carved out by glaciers over millions of years which is one of my favorite things about hiking, and that’s why visiting the the Badlands, Grand Canyon, Monument Valley, and all the other various cool areas of Utah is definitely going to be planned in the next few years.
Goats
This is part 2 of a 3 part series about my vacation through the mountains. Find part 1 here, and link to part 3 will be put here when it’s finished.

I climbed some mountains – Part 1

Recently my wife and I returned from our epic glac-anada adventure. This involved our first time backpacking through Glacier National Park, driving through the Canadian Rockies, exploring Vancouver, BC, and going to the Portland Timbers game. There was a lot involved in the planning and preparation, especially with the back packing portion.

Picking a route!
So one of the funniest parts of the preparation was deciding a route. I used hike734‘s writeup on great 3 day hikes  to get some good ideas, and spent a lot of time looking at the map of the park. There’s also a good amount of help to be found on the official park website.
IMG_20140822_122244.jpg
Getting a permit
Glacier required a permit in order to go into the back country. You could show up at the ranger office and get one for that day, but I wanted to make sure and get the route we decided on so I sent in the form to reserve the sites ahead of time. They start issuing permits on April 15th. Any forms they receive prior to that are shuffled together and worked random. After April 15th they’re processed as they get them. We found out when we picked up our permit that our chosen route was very popular and tend to go quickly, so I was glad I mailed our form in before the April 15th window.

IMG_20140821_213953.jpg
The Gear

Emily and I done many hikes in the Portland area. The PNW has an immense bounty of possibilities for going on hikes. We had also done our fair share of camping, albeit car camping, before deciding to go on this trip. That said, there is a lot of backpacking specific gear I discovered we would need. I read a lot of reddit threads on what people pack, and talked with some people about things I’d need.
One thing that made life easy was REI garage sales. If you’re apart of REI’s membership program you’re invited to their garage sales. These tend to be very hit or miss, but we were able to find a backpack for Emily that only had a broken clasp. We were also able to find her a sleeping bag where the only issue was the stuff sack had a tiny tear in a seam. These items were found at roughly 60-75% markdown. REI also had a big anniversary sale where most of their merchandise was 50%+ off list price. We used this chance to talk with some store reps on what kind of supplies we needed, and they pointed us to a good pump water filter and jet boil.

Our main source of dinners and breakfasts were dehydrated foods.  These were super lightweight foods that you added boiling water to. Our hand-pump water filter made getting water a breeze. Drinking water from a glacier fed stream was a great experience. Because Glacier Natl Park is home to many bears, there is a lot of protocol you must follow regarding food stuffs. This includes things like, storage of food, or anything that smelled, far from the tents, in an area designated for food storage. The usual two methods for this is either hanging it all in a waterproof bag, or keeping it in a bear proof canister. We opted to go with a bear canister.  In theory, the benefit of a canister, over hanging a sack, is you can just put your stuff in it and stow it on the ground in the food storage area without needing to tie a line. In reality, the bear canister was a giant pain. It added a bunch of extra weight, and size didn’t diminish over time. Not to mention that it wasn’t big enough to hold absolutely everything, so we ended up rigging some bags to hang anyhow. Next time I do this I’m for sure sticking with just bags to hang.
Hiking poles was something I always thought was for people with bad joints, but now that I’ve started using them I don’t want to stop. They relieve so much pressure on your joints especially going down slopes. I started using them on just regular day-hikes to much success.

This is part 1 of a 3 part series about my vacation through the mountains. Find part 2 here, and the link to part 3 will be posted when it’s written.